Cracked countertops can make even the most beautiful kitchen look worn and neglected. More importantly, small fractures can trap moisture, food particles, and bacteria if they are not repaired quickly.
That’s why Sealing Cracks in Countertops is an essential maintenance task every homeowner should learn.
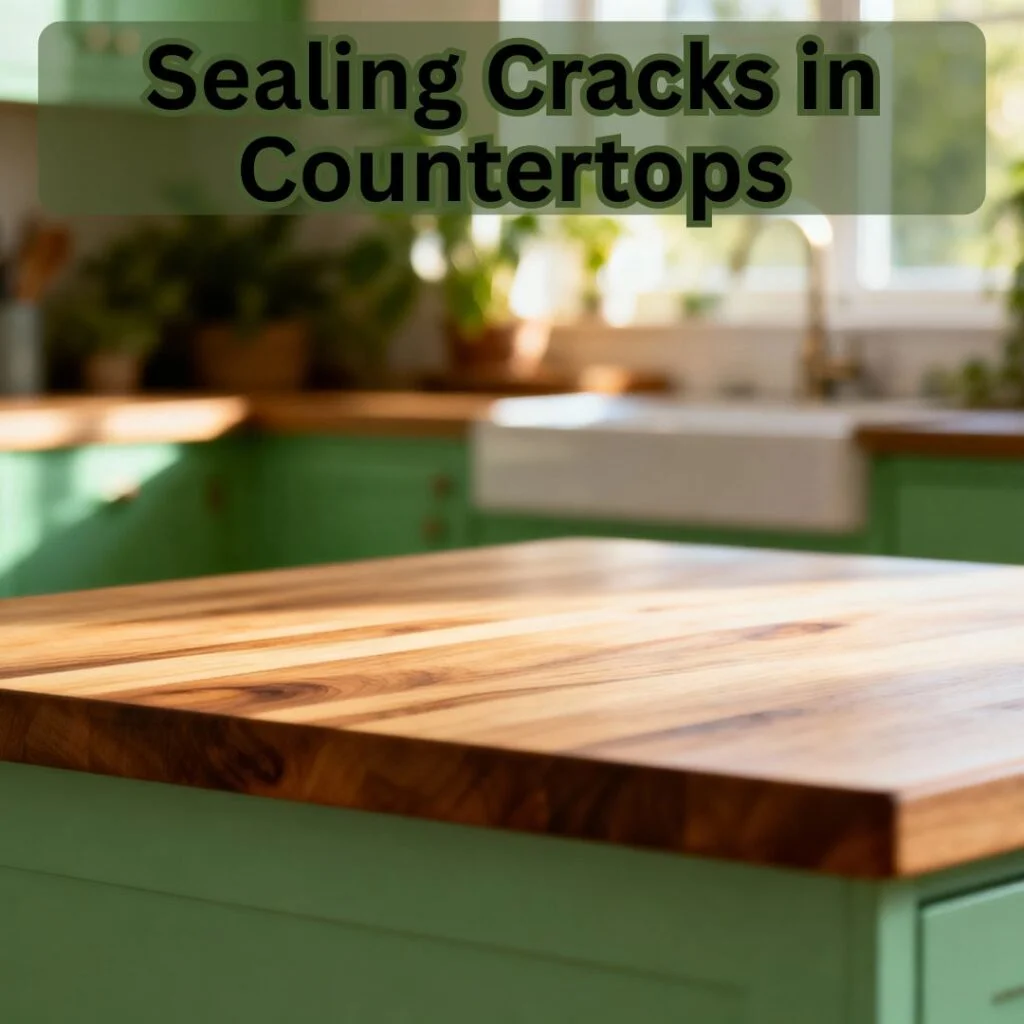
Whether your countertop is granite, laminate, quartz, or concrete, sealing cracks properly can extend its life and restore its original look.
This article explains Sealing Cracks in Countertops in clear step-by-step actions. Each step includes helpful tips and the materials you need so you can handle the repair confidently.
Why Sealing Cracks in Countertops Matters
Before starting the repair process, it’s important to understand why Sealing Cracks in Countertops is necessary. Small cracks may seem harmless at first, but they often grow larger over time due to daily use, heat exposure, or moisture. If ignored, these cracks can weaken the surface structure of your countertop.
Proper sealing helps:
Prevent water damage inside the material
Stop cracks from expanding
Improve the appearance of the countertop
Maintain kitchen hygiene
Extend the lifespan of your countertop surface
When you perform Sealing Cracks in Countertops the right way, you protect both the beauty and durability of your kitchen.
Step 1: Inspect the Countertop Carefully
The first step in Sealing Cracks in Countertops is identifying the exact condition of the damage.
What you need
Flashlight or bright lighting
Magnifying glass (optional)
Cleaning cloth
Look closely at the crack to determine its depth and length. Some cracks are surface-level scratches, while others may be deeper structural issues.
Tip:
Check if the crack changes color when wiped with a damp cloth. If it darkens, the crack is deeper and needs stronger sealing material.
Step 2: Clean the Crack Thoroughly
Cleaning is one of the most important steps in Sealing Cracks in Countertops because debris can prevent the sealant from bonding properly.
Things required
Mild dish soap
Warm water
Soft brush or toothbrush
Microfiber cloth
Gently scrub the cracked area and remove grease, dust, and residue.
Tip:
Avoid harsh chemicals during this step. Strong cleaners can weaken the surrounding material and affect the sealing process.
Step 3: Dry the Surface Completely
Moisture trapped inside cracks can ruin the results of Sealing Cracks in Countertops.
Items needed
Dry cloth or towel
Hair dryer or fan
After cleaning, allow the area to dry naturally or speed up the process with airflow.
Tip:
Point a fan at the crack for 10–15 minutes to ensure there is absolutely no moisture left.
Step 4: Choose the Right Sealant Material
Selecting the correct product is essential when Sealing Cracks in Countertops because different countertop materials require different solutions.
Common sealant options
Epoxy resin for granite or quartz
Acrylic filler for laminate surfaces
Concrete patch compound for concrete countertops
Color-matched stone filler
Tip:
Always pick a filler that closely matches your countertop color. This helps the repair blend naturally with the surface.
Step 5: Apply the Sealant Carefully
This is the most crucial part of Sealing Cracks in Countertops.
Tools required
Putty knife or applicator
Sealant or epoxy mixture
Disposable gloves
Apply the sealant slowly along the crack and press it in gently so it fills the entire gap.
Tip:
Work in thin layers instead of applying too much at once. This prevents uneven surfaces after drying.
Step 6: Smooth the Surface
Once the filler is applied, smoothing the area ensures the countertop looks clean and professional after Sealing Cracks in Countertops.
Materials needed
Plastic scraper or putty knife
Damp cloth
Carefully remove excess sealant and level the surface.
Tip:
Hold the scraper at a slight angle while smoothing to achieve a flat finish.
Step 7: Allow Proper Curing Time
Many people rush this stage, but patience is essential during Sealing Cracks in Countertops.
What you need
Time (usually 12–24 hours depending on the product)
Protected area away from moisture
Let the sealant cure completely without touching or using the countertop.
Tip:
Place a small note near the area reminding household members not to use the surface during curing.
Step 8: Sand and Polish the Repaired Area
After curing, the repaired spot may need finishing touches to match the rest of the countertop.
Tools required
Fine-grit sandpaper
Polishing cloth
Gently sand the repaired section and polish it for a smooth appearance.
Tip:
Use very light pressure when sanding to avoid damaging the surrounding surface.
Unique Tips for Long-Term Countertop Protection
After completing Sealing Cracks in Countertops, maintaining the surface will prevent future damage.
Use cutting boards instead of cutting directly on countertops.
Avoid placing extremely hot pans directly on the surface.
Wipe spills quickly, especially acidic liquids like lemon juice or vinegar.
Apply a countertop sealant annually if your surface is natural stone.
Inspect your countertop regularly for tiny cracks before they grow larger.
These small habits can reduce the need for frequent repairs.
Common Causes of Countertop Cracks
Understanding what causes cracks helps you avoid repeating the issue after Sealing Cracks in Countertops.
Some of the most common causes include:
Heavy impact from dropped objects
Heat exposure from hot cookware
Structural movement in cabinets
Improper installation
Natural wear over time
Recognizing these causes helps you protect your countertop investment.
Facts About Sealing Cracks in Countertops
Here are some interesting facts about Sealing Cracks in Countertops that many homeowners don’t know:
Small cracks can grow nearly three times larger within a year if left untreated.
Proper sealing can extend the life of a countertop by several years.
Epoxy-based fillers are among the strongest repair materials used in kitchens.
Many countertop repairs can be completed at home without professional help.
Sealing cracks improves both hygiene and appearance.
Advantages of Sealing Cracks in Countertops
There are several benefits to performing Sealing Cracks in Countertops regularly:
Helps maintain the original look of your kitchen.
Prevents water damage beneath the surface.
Saves money compared to replacing the entire countertop.
Increases durability of the countertop material.
Reduces the chances of bacteria collecting in damaged areas.
Final Thoughts
Maintaining your kitchen surfaces does not always require expensive replacements.
With the right tools, materials, and knowledge, Sealing Cracks in Countertops becomes a manageable task that protects both style and function.
By following the steps above—inspection, cleaning, sealing, smoothing, and curing—you can restore damaged surfaces effectively.
Consistent care and quick repairs make a big difference. When Sealing Cracks in Countertops is done properly and on time, your countertop can stay strong, clean, and visually appealing for many years.