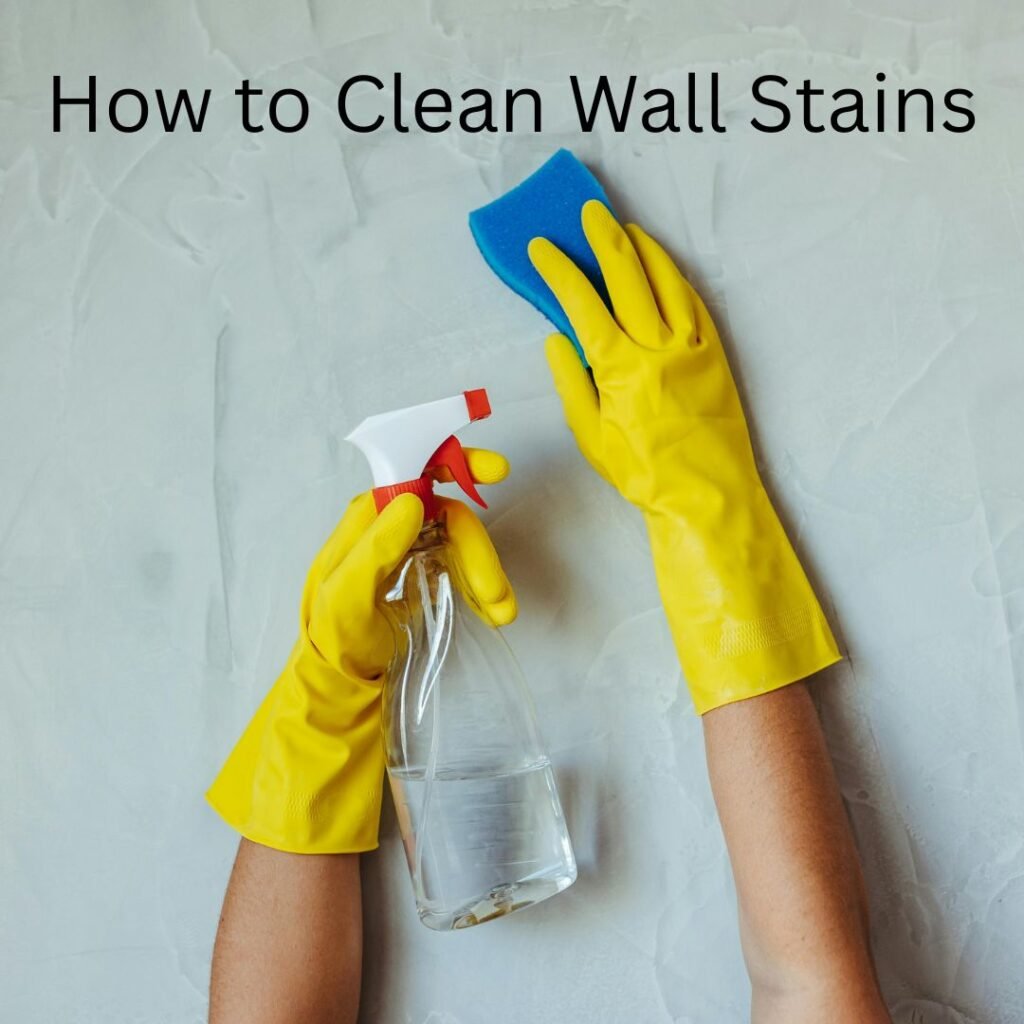
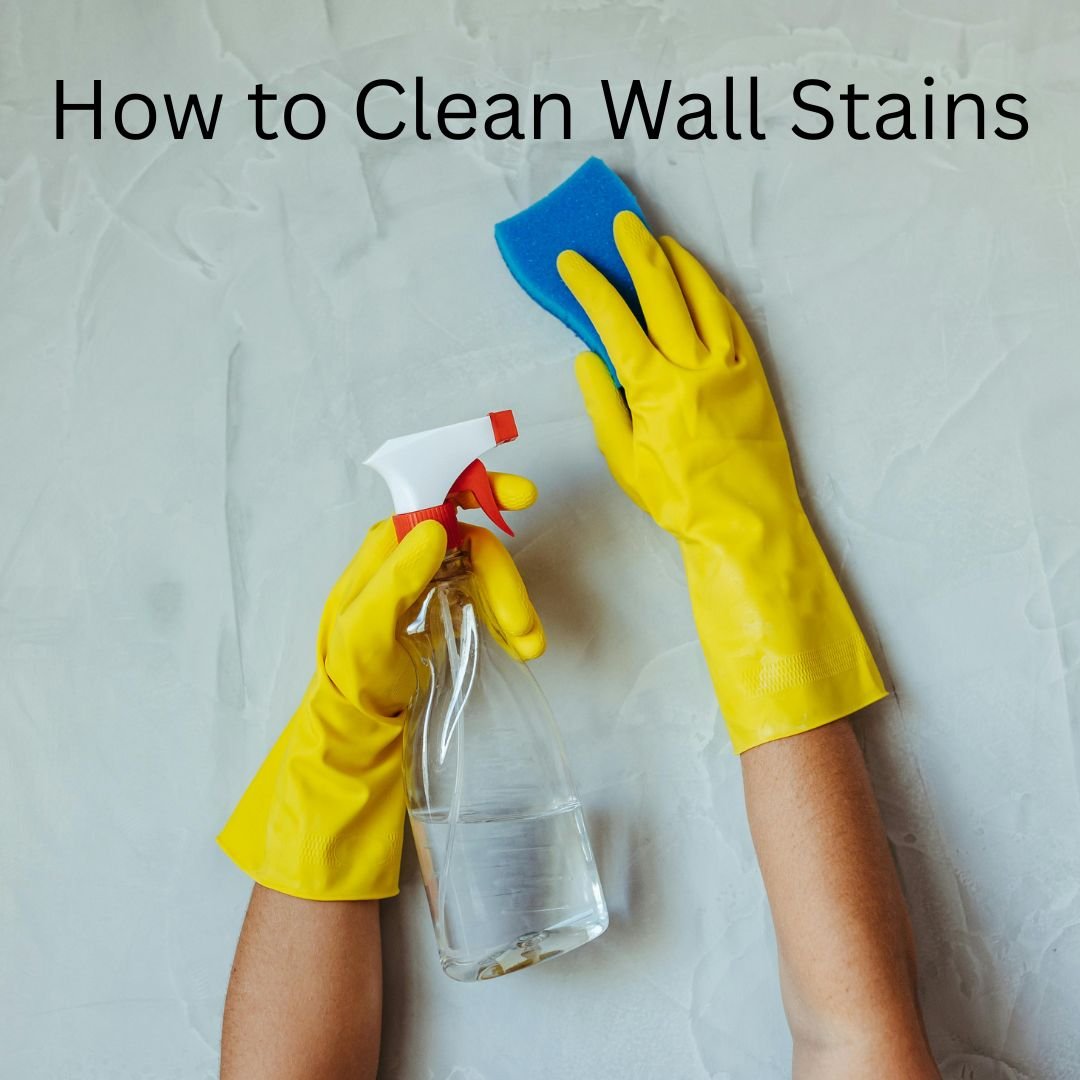
Learn how to clean wall stains safely and effectively — step-by-step methods for painted, wallpapered, and textured walls, the exact supplies you need, smart troubleshooting tips, and eco-friendly options to keep walls spotless without damage.
Walls take the brunt: fingerprints by light switches, crayon masterpieces, grease splashes by the stove, and the occasional mysterious streak. Knowing how to clean wall stains properly saves paint, preserves finishes, and keeps your home looking cared-for.
This guide gives a clear, SEO-friendly, step-by-step plan (with unique tips for each step), a shopping list of supplies, and final facts plus advantages so you leave nothing to chance.

Quick overview (what this article covers)
Assess the wall surface and stain type
Gather safe, effective supplies
Step-by-step cleaning methods (mild → stronger) for painted walls, wallpaper, and textured surfaces
Preventive and repair tips
Fast troubleshooting and eco options
Final facts and advantages of mastering how to clean wall stains
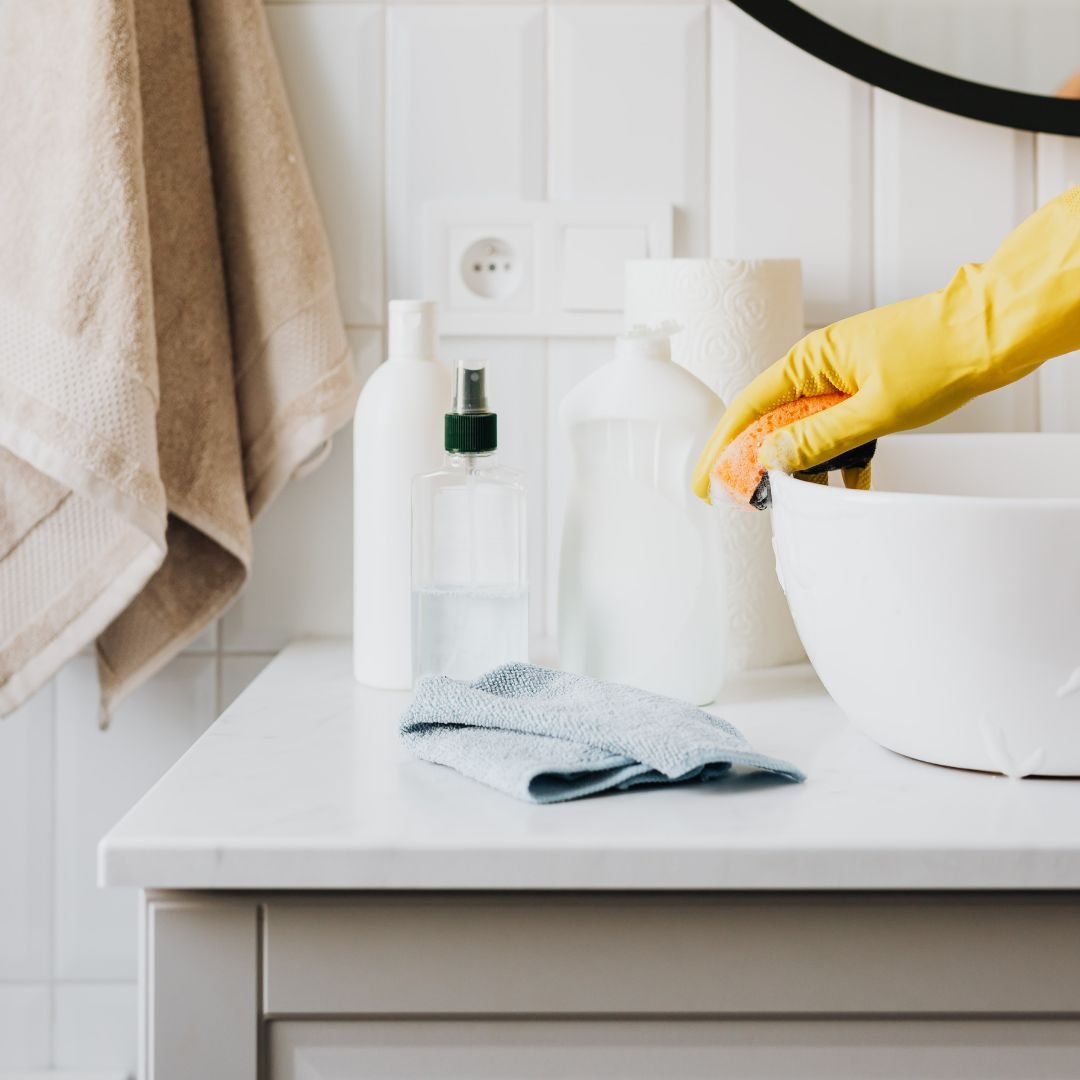
What you’ll need (essential supplies)
Soft microfiber cloths or sponges (non-abrasive)
Bucket(s) for water
Mild dish soap (pH-neutral)
White vinegar (diluted)
Baking soda
Magic eraser (melamine foam) — use sparingly
Rubbing alcohol (isopropyl 70%)
Hydrogen peroxide (3%) for organic stains
Spray bottle(s)
Small plastic scraper or old credit card
Touch-up paint and small brush (for final repairs)
Rubber gloves and eye protection (optional)
Step 1 — Inspect and identify (first thing to do)
Before touching the wall, step back and inspect the stain: is it oily, colored (marker/crayon), scuffed, moldy, or water-streaked? Note the finish: flat, eggshell, satin, semi-gloss, or wallpaper.
Tip (unique): Use natural light from a window or flashlight at an angle to reveal faint grease or shadow stains you might miss head-on.
Step 2 — Test a hidden spot (safety-first)
Choose a discreet area (behind furniture or near a corner). Apply your mildest cleaner (water + dish soap) and blot — not rub. Wait 10 minutes. If paint softens, flacks, or the wallpaper’s pattern lifts, stop and choose a gentler option.
Tip (unique): Photograph the test spot with your phone before and after — that way you can compare and avoid accidental over-cleaning.
Step 3 — Start mild: soap and water (best first-line)
Mix one teaspoon mild dish soap in a liter of warm water. Dampen a microfiber cloth; wring it well. Gently blot the stain from edges inward to avoid spread. Rinse cloth and repeat.
Tip (unique): Change cloth sections frequently—fold into quarters and rotate to avoid re-depositing dirt.
Step 4 — Tackle grease and kitchen splatters (if soap fails)
Use a 1:1 mix of warm water and white vinegar in a spray bottle. Spray lightly, wait 30 seconds, then blot. For stubborn grease, sprinkle a tiny bit of baking soda on a damp cloth and rub gently to create a mild abrasive paste — rinse afterward.
Tip (unique): For backsplash-adjacent walls, apply a protective clear coat (micromist of clear acrylic) after cleaning to reduce future staining.
Step 5 — Remove crayon, marker, or ink (colored stains)
For crayon: scrape gently with a plastic scraper and then use a damp melamine foam eraser in light strokes. For permanent marker: try rubbing alcohol on a cotton ball, blotting outward. For ink that still stains, dab hydrogen peroxide, let sit 2–3 minutes, then rinse.
Tip (unique): When dealing with kids’ art areas, mount a large sheet of washable paint-grade paper or chalkboard panel to concentrate art and protect the wall.
Step 6 — Handle scuffs and smudges (mechanical marks)
Scuffs from shoes or furniture often respond to a melamine foam eraser or a paste of baking soda and water rubbed lightly. Finish by wiping with a damp microfiber cloth to remove residue.
Tip (unique): Attach felt protectors under furniture legs and use a hallway runner in high-traffic zones to reduce recurring scuffing.
Step 7 — Address water stains and mold (moisture-related)
If a stain is brownish or powdery, it might be a water stain or early mold. For surface mold, scrub with a 1:4 mix of bleach to water (use in ventilated space and test first), or for gentler approach use hydrogen peroxide sprayed on, wait 10 minutes, then wipe. For paint blistering or persistent mold, consult a contractor — this may indicate a leak.
Tip (unique): Use a moisture meter (inexpensive handheld unit) to check dampness in suspect walls — it saves time hunting leaks.
Step 8 — Wallpaper-safe methods
Wallpaper is delicate. Start with dry dusting and a soft eraser. If washable wallpaper, use a barely-damp cloth with dish soap. Never saturate. For patterned vinyl, you can use diluted vinegar; for paper-backed wallpaper, avoid liquids entirely — instead use a gentle gum eraser and light vacuuming.
Tip (unique): Keep a roll of matching wallpaper hidden in storage or take a high-resolution photo of the pattern. Prints fade — having a match makes future repairs seamless.
Step 9 — Textured surfaces (stucco, popcorn, embossed)
Avoid aggressive rubbing that flattens texture. Use a soft brush and mild soapy water applied with a sponge held vertically (dab gently). For grease, a small amount of citrus degreaser on a cloth may work — test first.
Tip (unique): Use a soft toothbrush for crevices; work in the direction of the texture so the surface retains its dimensional look.
Step 10 — Final rinse and drying (important step)
After any cleaning, wipe with a clean damp cloth to remove residues, then pat dry with a towel or fan the area to avoid streaks. Residual cleaner can attract dirt faster than before.
Tip (unique): Use a small tabletop fan briefly to speed evaporation — especially useful near kitchens and bathrooms to prevent moisture spotting.
Step 11 — Repair and touch-up (if cleaning removed paint)
If cleaning lightened or stripped paint, sand very lightly, prime the bare spot, and apply touch-up paint with a small artist brush. Feather the edges to blend. For wallpaper tears, use acid-free wallpaper adhesive under the lifted edge.
Tip (unique): Store a small sample of each wall paint color (a painted paint-chip card) in a labeled envelope for quick touch-ups later.
Troubleshooting quick guide (when things go wrong)
Paint peeling after cleaning → stop and consult a pro (possible underlying moisture).
Persistent discoloration after treatment → bleaching agents might be needed; use cautiously.
Stain returns quickly → consider sealing with a low-VOC clear coat on painted walls or repositioning furniture to prevent future contact.
Preventive habits (to avoid constant maintenance)
Wipe high-traffic areas weekly with a microfiber cloth.
Use washable paint (eggshell or satin) in kitchens, hallways, and kids’ rooms.
Place mats, bumpers, and guards where possible.
Tip (unique): Keep a small, labeled cleaning kit under your sink dedicated to wall stain emergencies — saves time and ensures consistent supplies.
Facts & Advantages of mastering how to clean wall stains
Fact: Regular gentle cleaning extends the life of paint jobs and wallpaper by preventing buildup that degrades finishes.
Fact: Most household stains respond to non-toxic solutions (soap, vinegar, baking soda) — harsh chemicals are rarely necessary.
Advantage: You’ll save money by avoiding full repainting and professional cleaning.
Advantage: Cleaner walls improve perceived home value and make living spaces feel fresher and healthier.
Advantage: Knowledge of stain-specific methods minimizes risk of accidental wall damage and preserves surface integrity.
Final note
Learning how to clean wall stains effectively is a small investment that pays off every day in lower maintenance, longevity of finishes, and a brighter home.
Follow the ordered steps above, choose the gentlest effective method first, and keep a dedicated kit and touch-up supplies at hand — your walls will thank you.


