
Most gaming room lists online show you setups that only make sense in a dedicated studio with unlimited budget and a professional electrician on call. This one is different, it’s built around what actually fits into a standard bedroom, what tends to go wrong when you try these ideas, and which upgrades are worth the money versus which ones look good in a photo and then collect dust.
Whether you’re setting this up for a teenager who games after homework or an adult who’s finally turning a spare room into a proper setup, the ideas below cover lighting, furniture, sound, storage, and the small details that make a gaming room feel finished rather than thrown together.
1. LED Lighting to Set the Mood
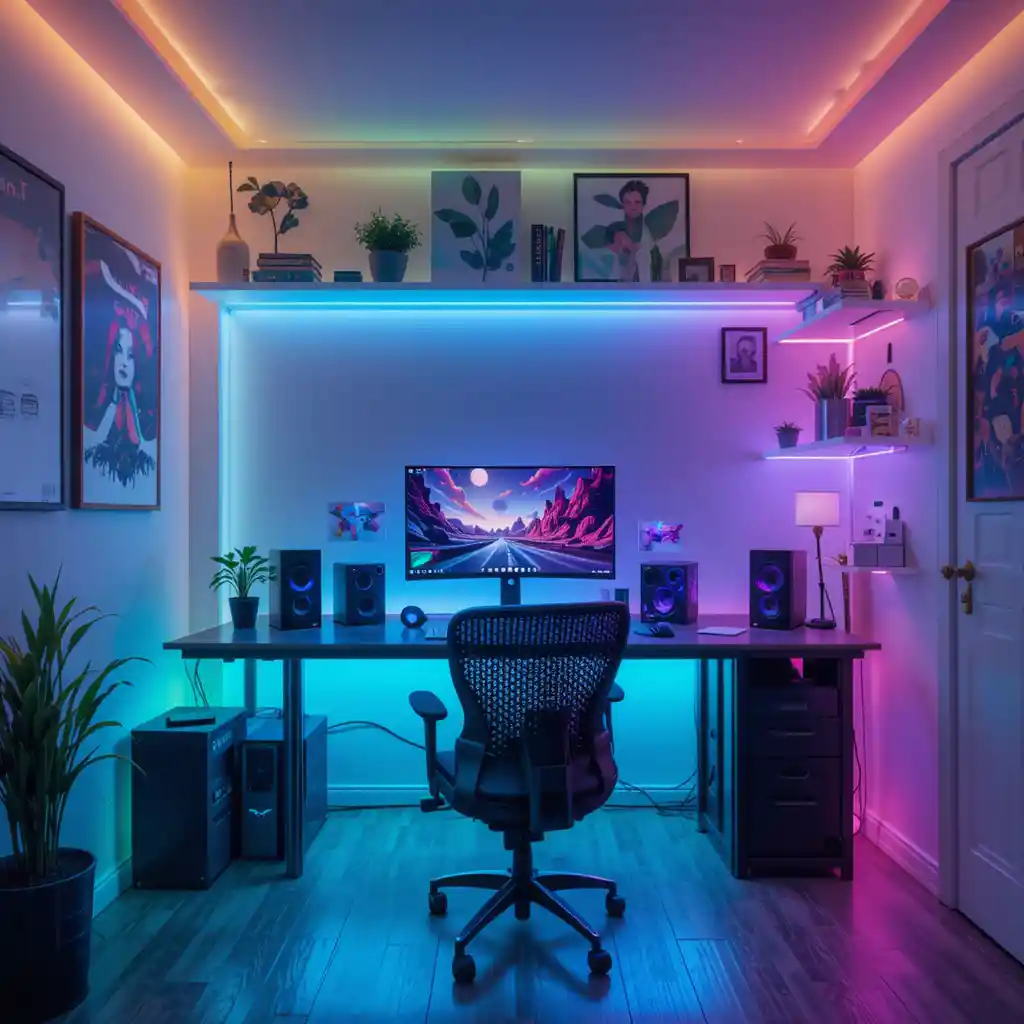
RGB strip lighting is the fastest way to change how a room feels, but most people make one mistake: they point the strips straight at the wall behind the monitor instead of behind the desk or along the ceiling trim. Direct light behind the screen causes eye strain during long sessions. Run the strips along the back edge of the desk or the top of a bookshelf instead, so the light bounces off the ceiling and walls rather than hitting the eyes directly. Battery or USB-powered strips with a remote are the easiest option if you’re renting and can’t run wiring.
2. Dual-Monitor or Ultra-Wide Setup
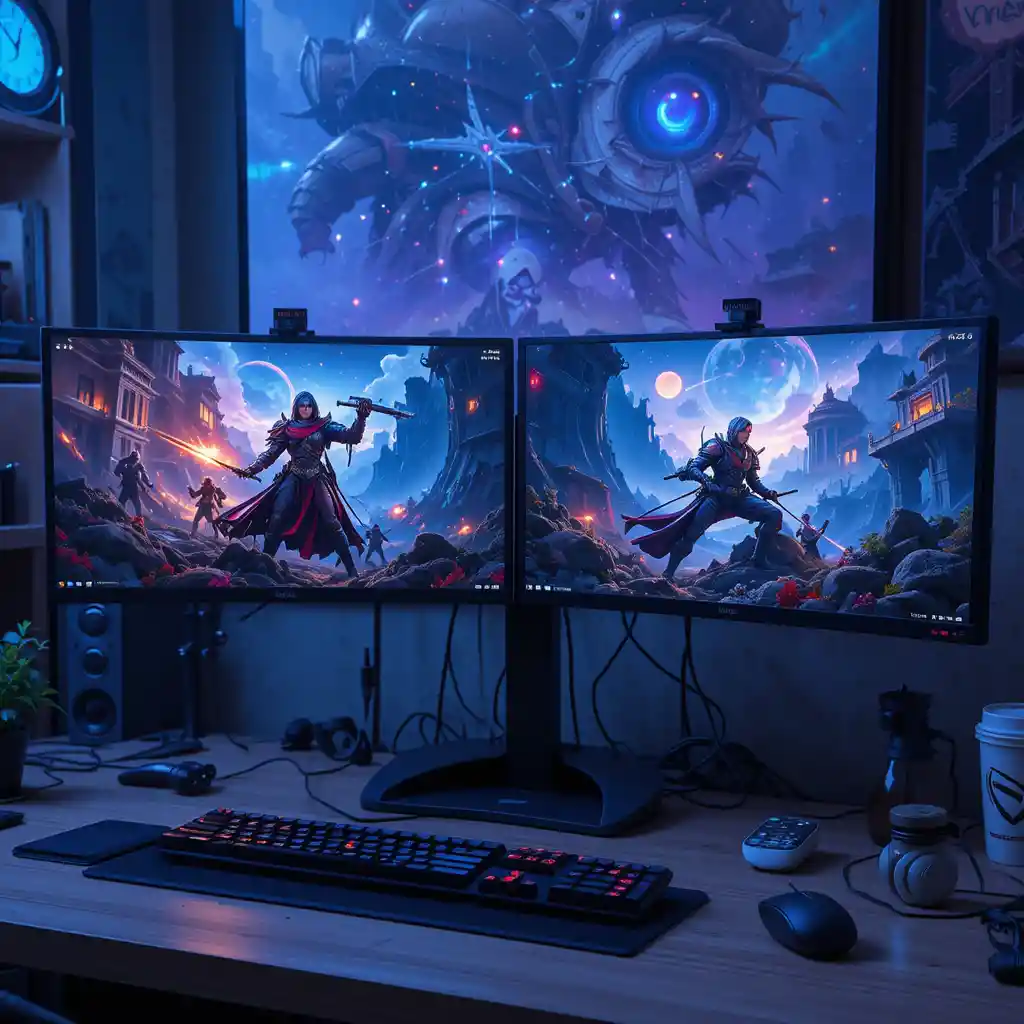
If there’s only budget for one upgrade this year, a second monitor usually beats a fancier chair. It’s genuinely useful. Discord and a game on one screen, a guide or stream chat on the other — rather than purely decorative. A basic 24-inch second monitor and a monitor arm to free up desk space is a reasonable starting point; an ultra-wide is a nice upgrade later but isn’t necessary to get the benefit.
3. Wall-Mounted Headset Holder
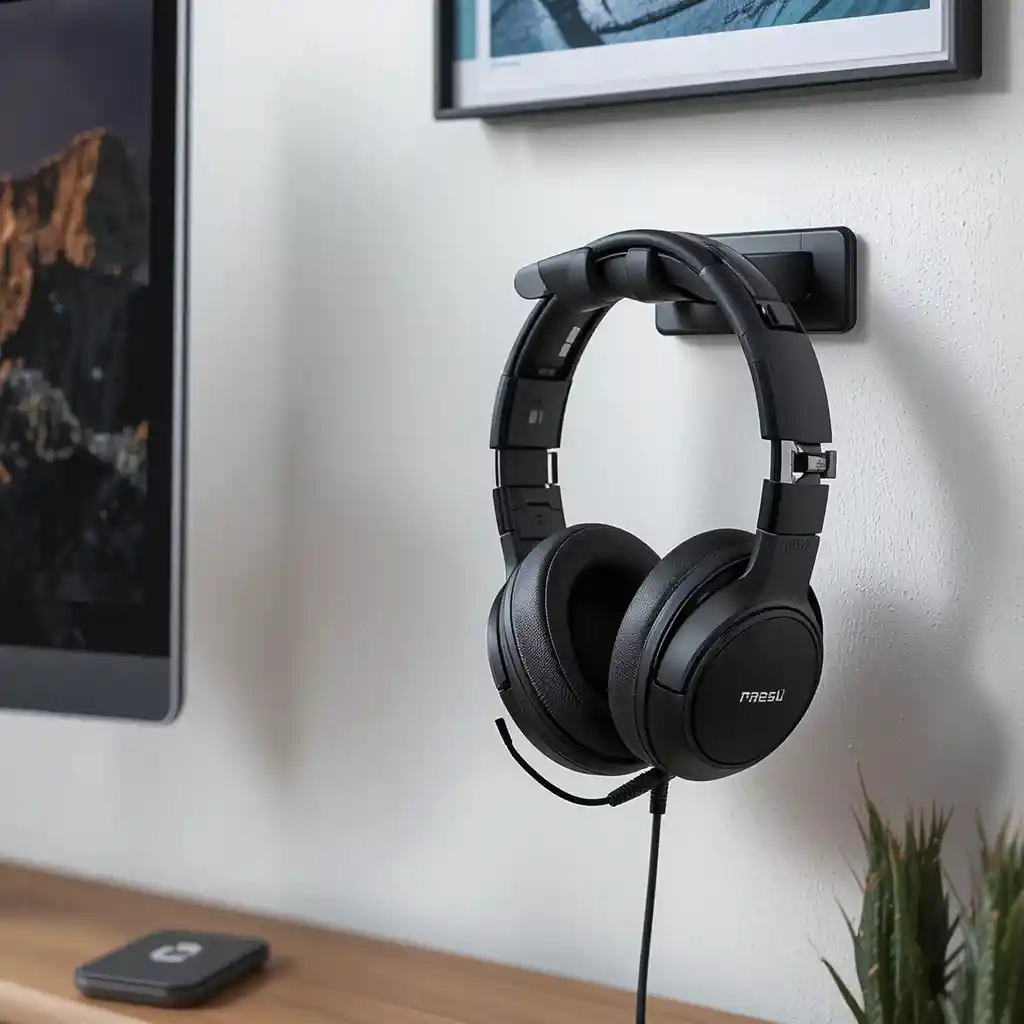
A $10 wall-mounted hook or an under-desk clamp holder solves a problem most people don’t think about until the headset has been sitting on top of the keyboard for six months, bending the headband out of shape. It also just makes the desk look less cluttered in about thirty seconds of setup.
4. Custom Wall Decals or Gaming Murals
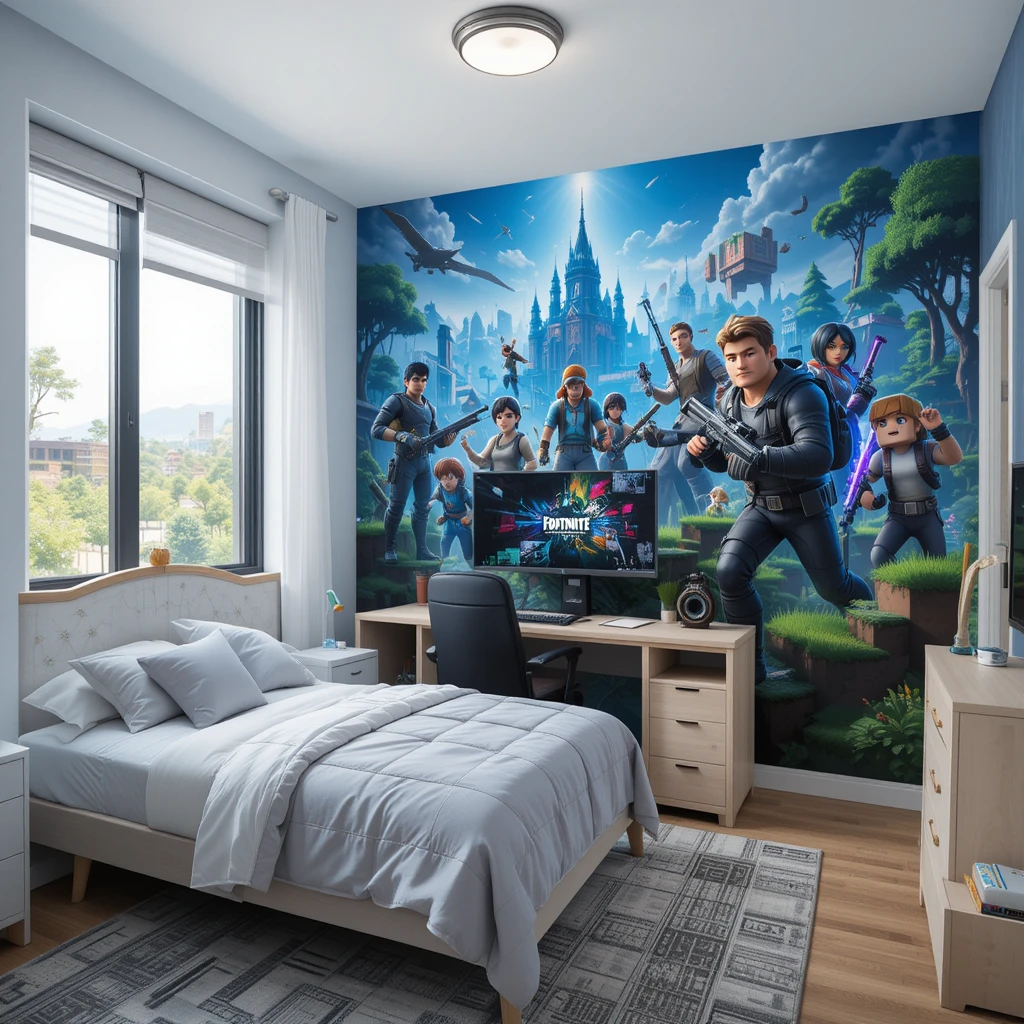
If this is a rented room or a kid’s room that will need to change themes in two years, skip painting a mural and use removable vinyl decals instead. They come off cleanly, they’re cheaper than a custom mural, and they can be swapped when the favorite game changes, which, with most kids, it will.
5. Ergonomic Gaming Chair for Comfort
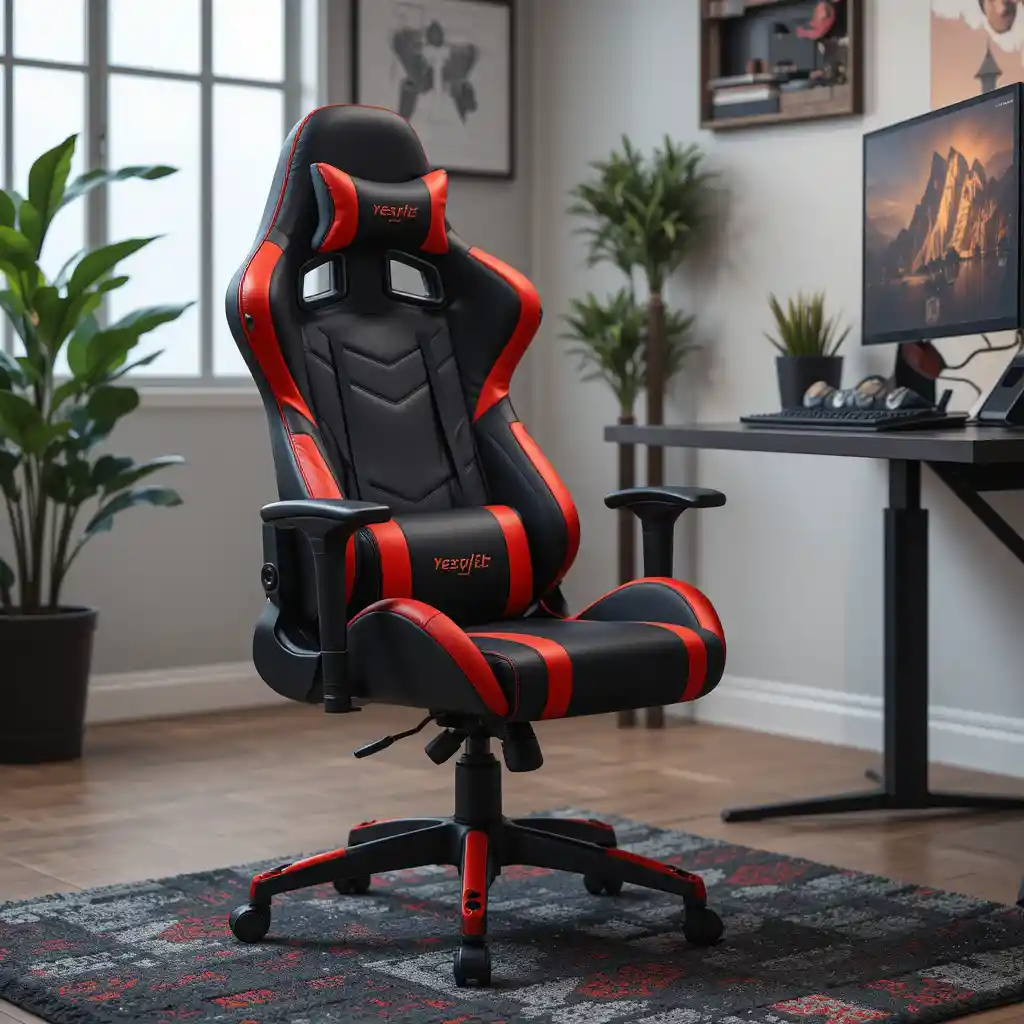
An ergonomic chair isn’t just about looking the part. Gaming sessions tend to run long, and a flat desk chair with no lumbar support becomes a real problem after a few months, especially for a growing teenager. Look for adjustable lumbar support and armrest height rather than just choosing based on color, the RGB-lit racing chairs look great in photos but the support quality varies a lot between brands.
6. Floating Shelves for Collectibles
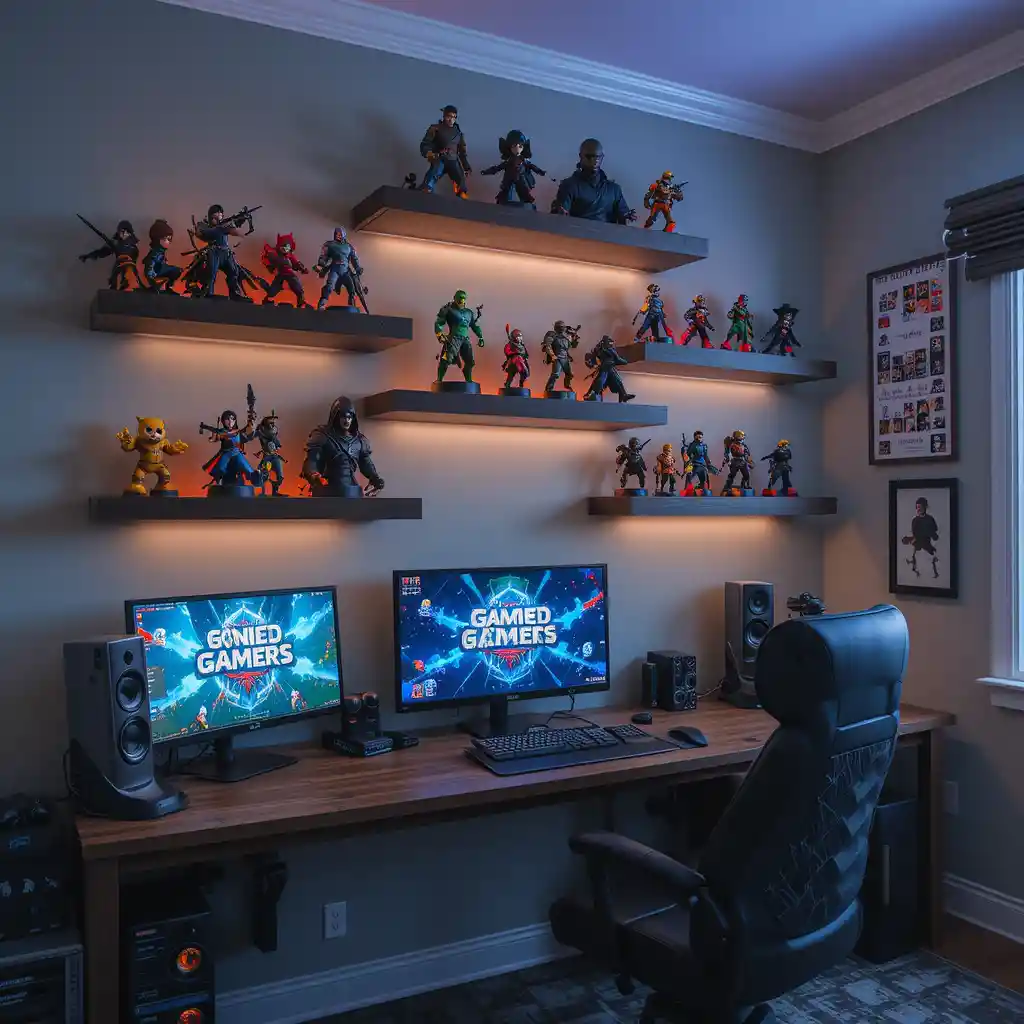
If there’s a collection of figures, amiibo, or special edition game cases, floating shelves above the desk keep them visible without eating into desk space. The one thing worth planning ahead: leave a few inches of clearance above each shelf for taller boxes, and anchor the shelves into a stud rather than just drywall anchors if anything on them has real weight.
7. Acoustic Foam Panels for Sound Control
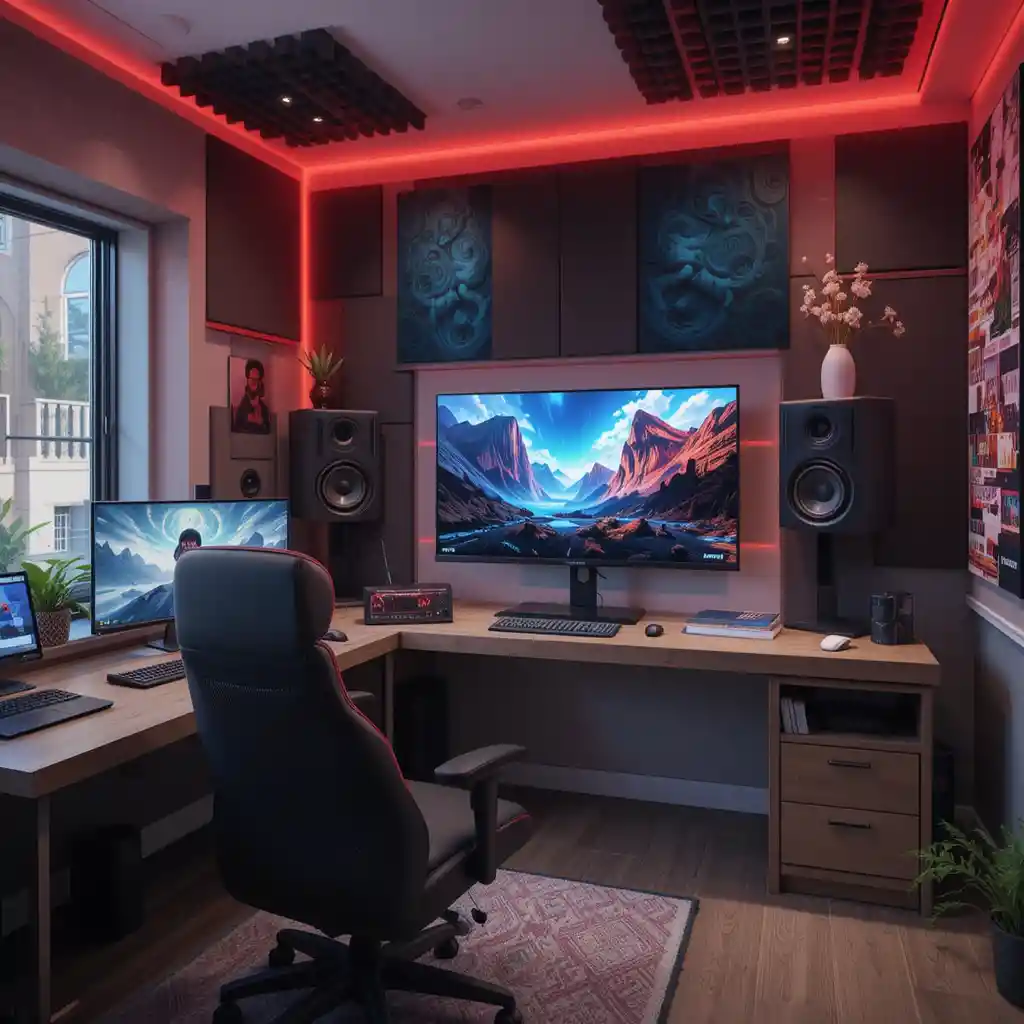
Foam acoustic panels are often marketed as a way to make the room feel more “professional,” but where they actually help is reducing echo when a microphone is in use for voice chat or streaming. If there’s no mic involved, the panels are mostly decorative. If there is, even two or three panels behind the desk noticeably cleans up how the voice sounds to others.
8. Mini Fridge for Snacks and Energy Drinks
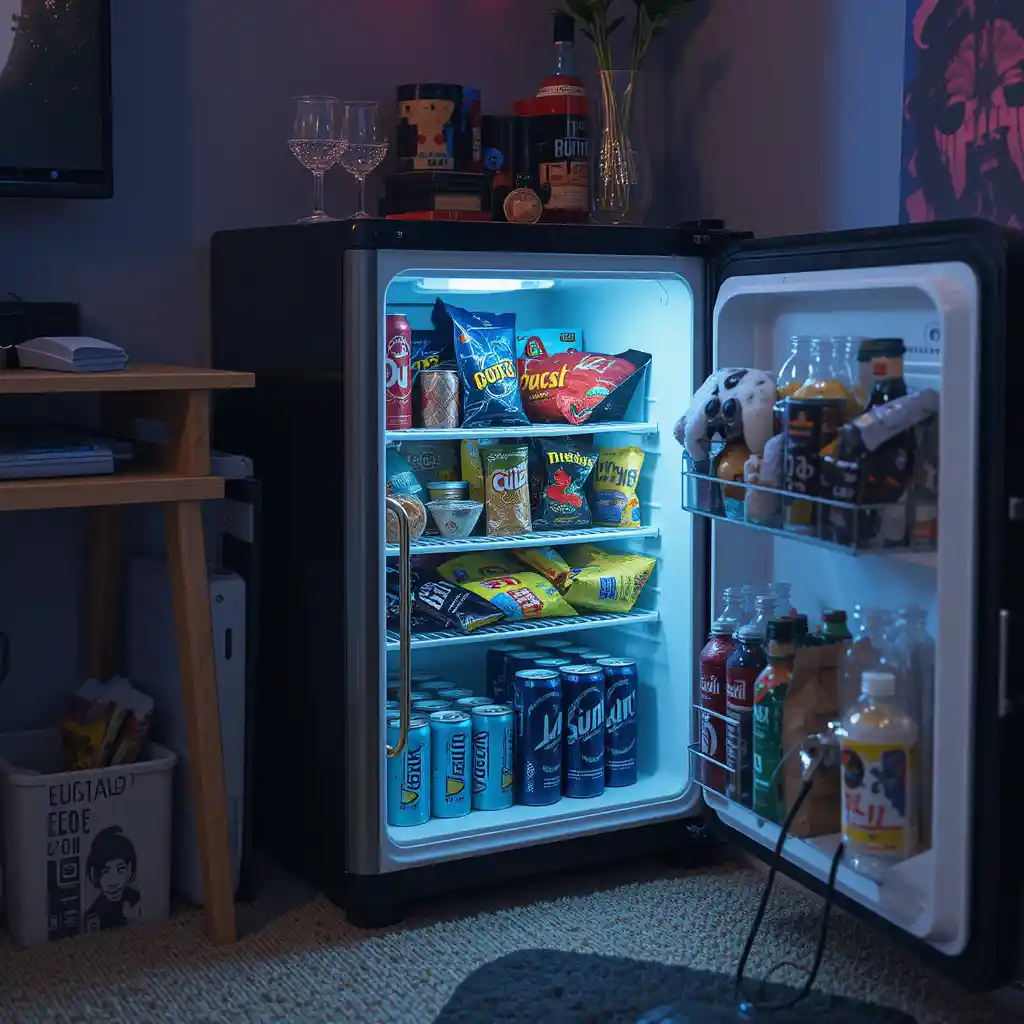
A small fridge under the desk keeps drinks and snacks close by during long sessions, which cuts down on the number of times someone has to pause a match to walk to the kitchen. It’s a nice-to-have rather than essential, worth it if the room is far from the kitchen, less necessary if it’s just down the hall.
9. Hidden Cable Management System
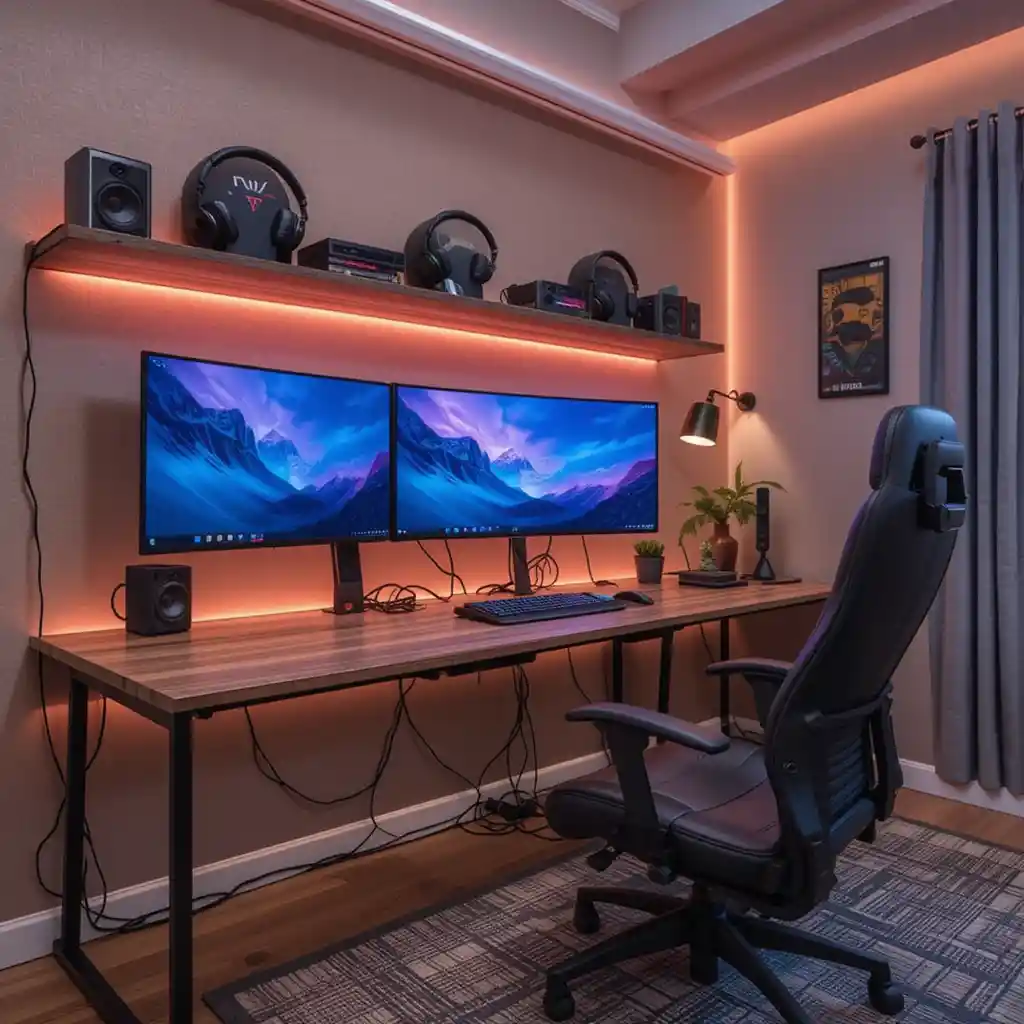
This is the one step almost everyone skips, and it’s the one that makes the biggest visual difference. A basic under-desk cable tray, some adhesive cable clips, and a fabric sleeve for the power cords will take an afternoon setup and make it look like a finished room instead of a tangle of wires. It also makes vacuuming under the desk possible, which matters more than people think.
10. Personalized Gamer Tag Neon Sign
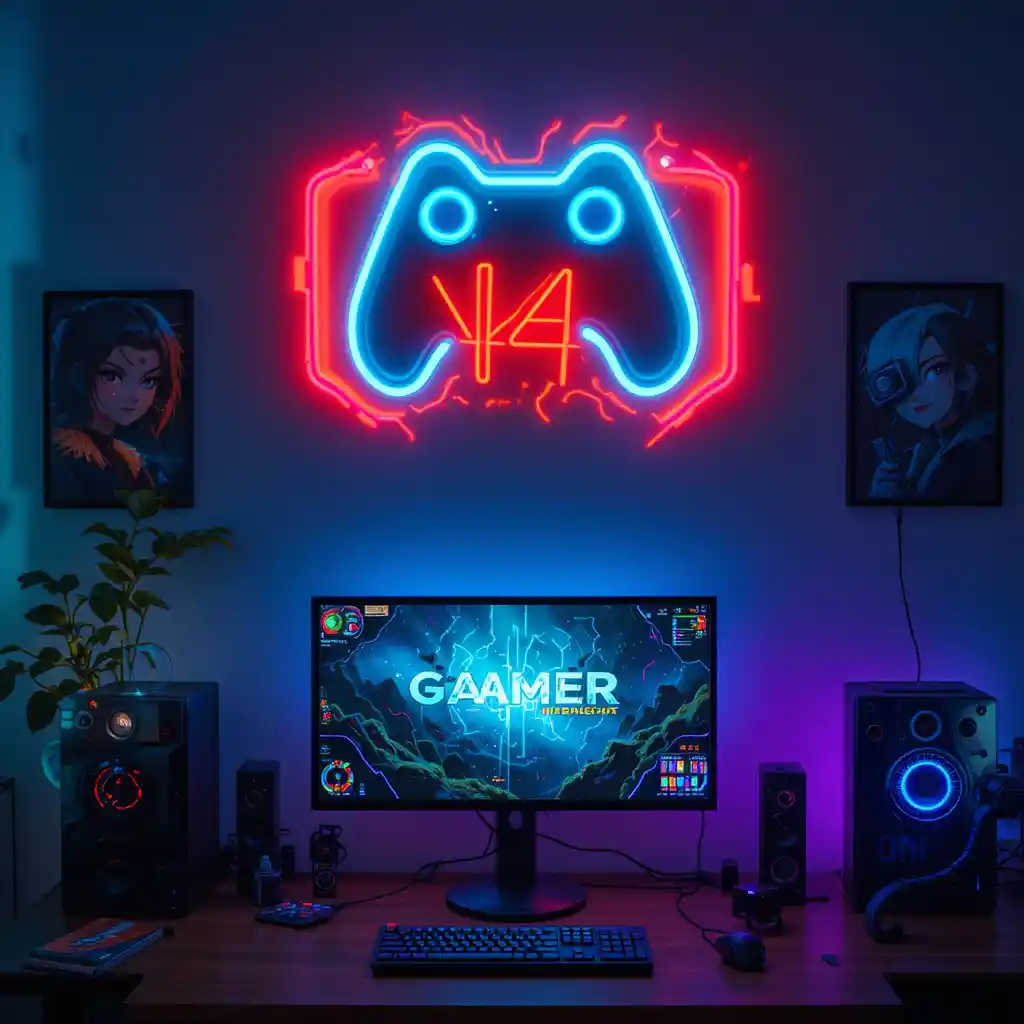
Custom LED name signs look great once the rest of the room is done, but they’re one of the more expensive per-square-inch decor items on this list. Worth adding last, once the desk, lighting, and furniture are already sorted, not the first purchase.
11. Blackout Curtains for Daytime Gaming
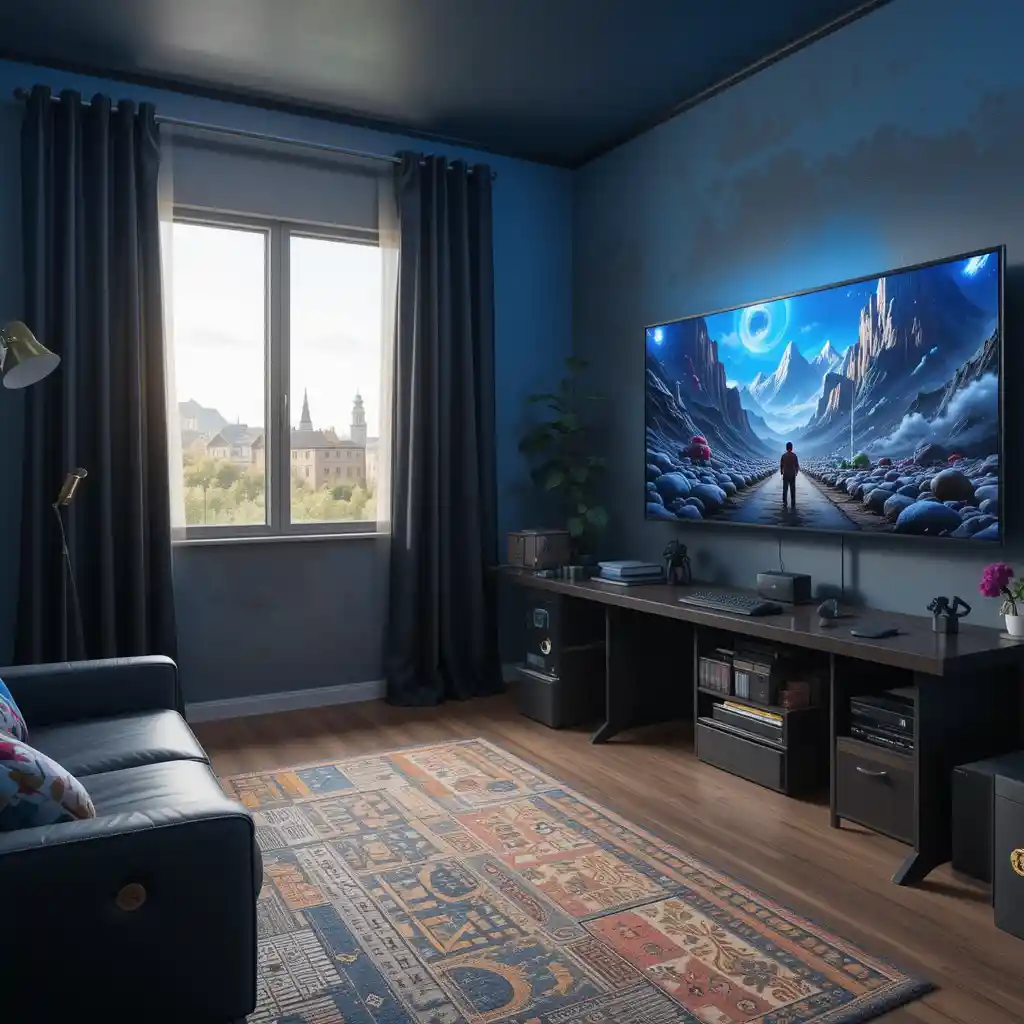
Screen glare from daylight is a genuine issue for anyone gaming during the day, especially in a west- or south-facing room. Blackout curtains fix this cheaply and also help anyone who streams or records, since they cut down on inconsistent lighting in video.
12. Retro Gaming Corner
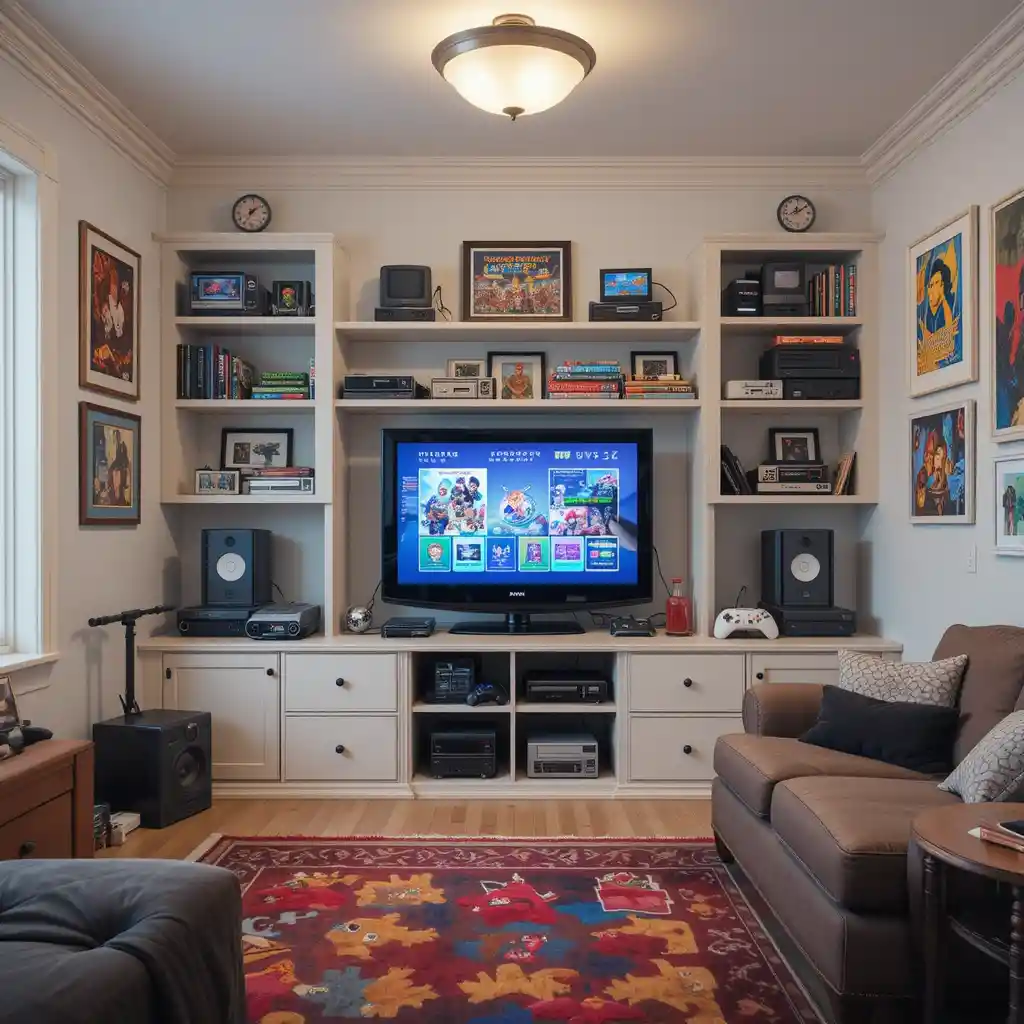
A small shelf with an actual working retro console, an original PlayStation, an SNES, or a Retro-bit clone console, gives this idea real substance instead of just being a poster on the wall. If original hardware is hard to find or expensive, FPGA-based clone consoles play original cartridges or discs and are a practical middle ground.
13. Wall-Mounted TV for Console Play
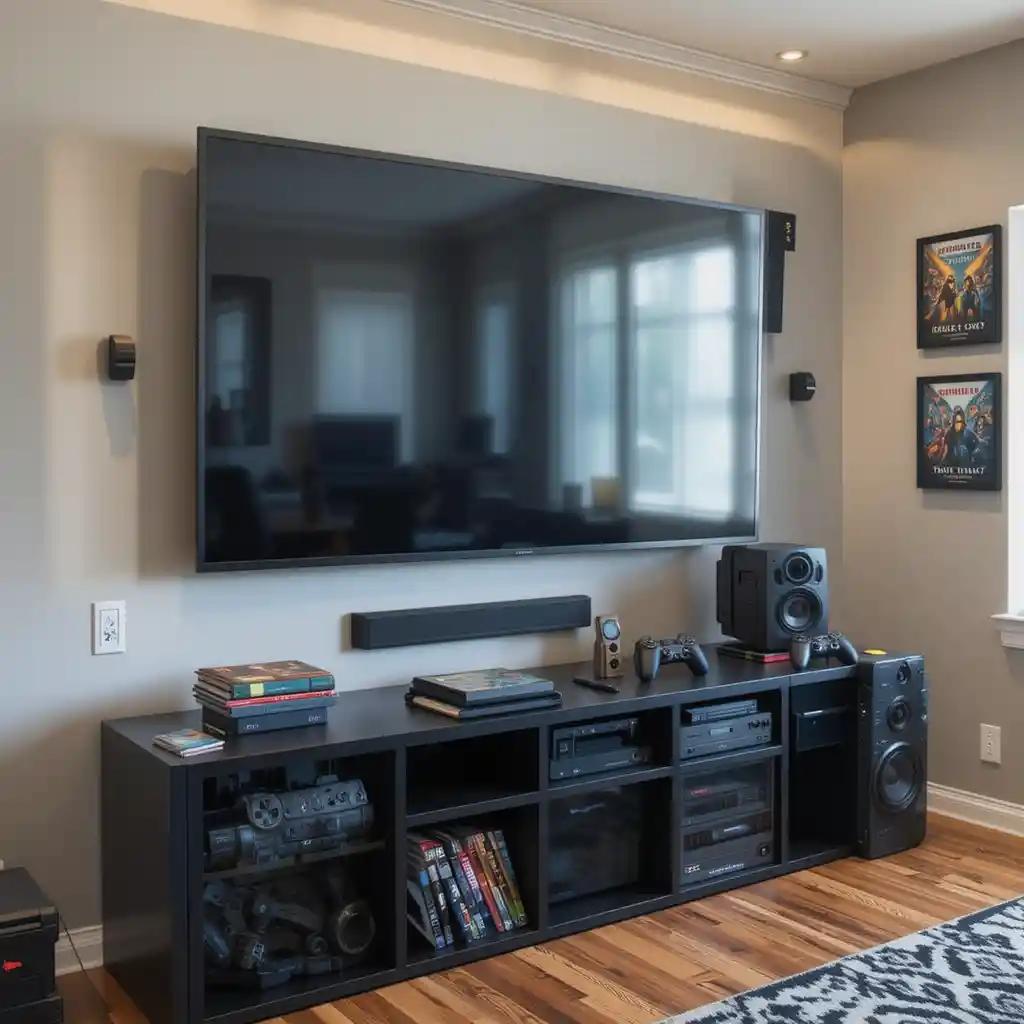
If there’s space for it, keeping console gaming (wall-mounted TV, couch or bean bag) separate from the PC desk setup makes the room usable by more than one person at a time, useful if friends come over and want to play something different than what’s on the main monitor.
14. Custom Desk with Built-In Storage
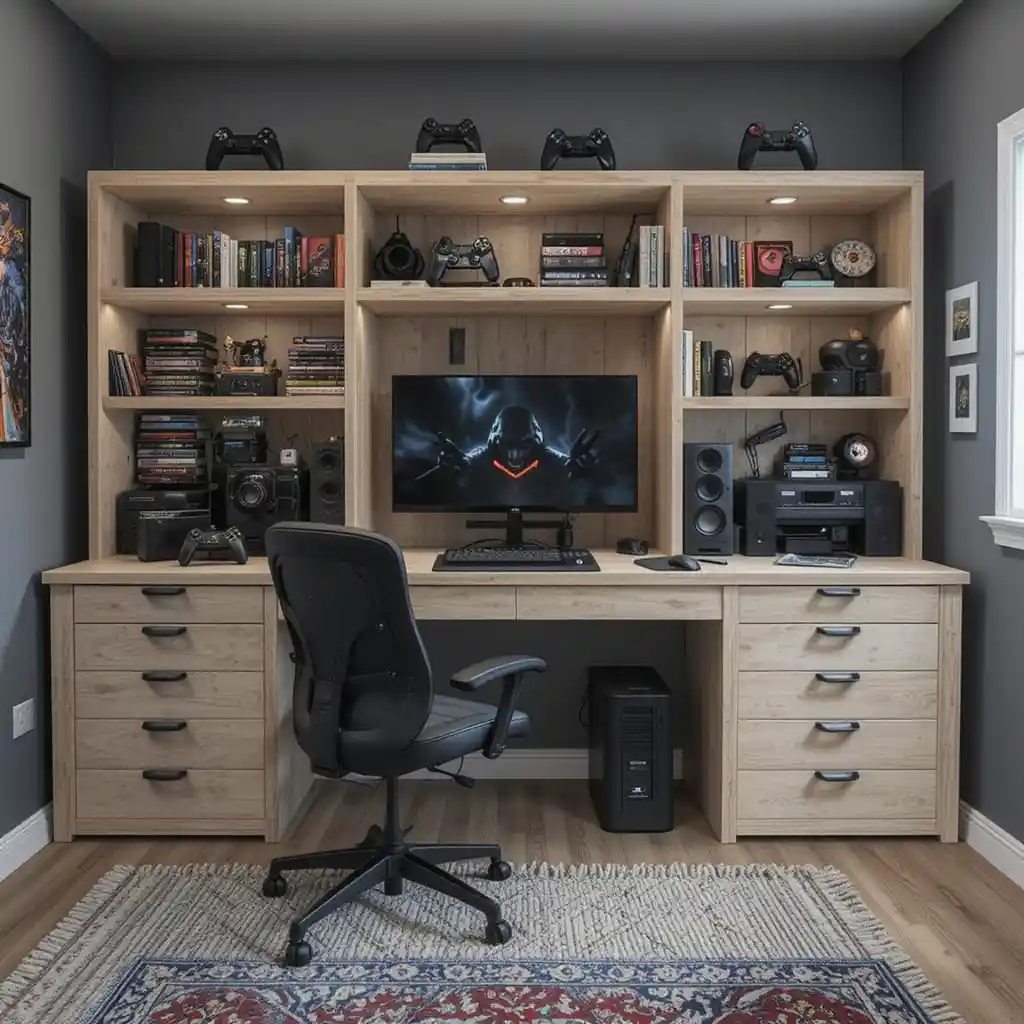
Before buying the biggest desk that fits, consider one with a drawer or two instead. Controllers, cables, and game cases pile up fast, and a desk with even one drawer keeps the surface usable instead of turning into a dumping ground within a month.
15. Ambient Under-Desk Lighting
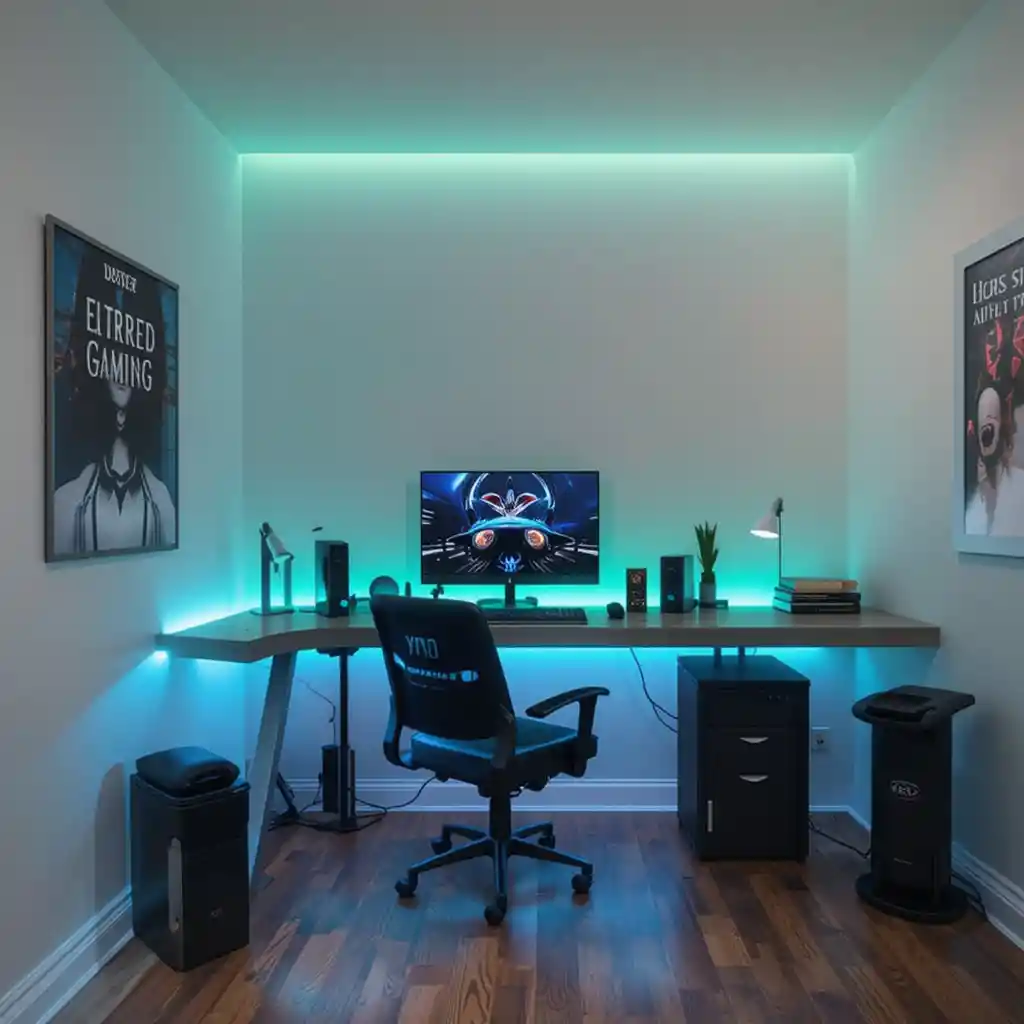
Beyond the aesthetic, a low-level light source under the desk means the room doesn’t need the overhead light on during night sessions, which is genuinely easier on the eyes than a bright ceiling light contrasted against a dark screen.
16. Gaming Rug or Themed Carpet
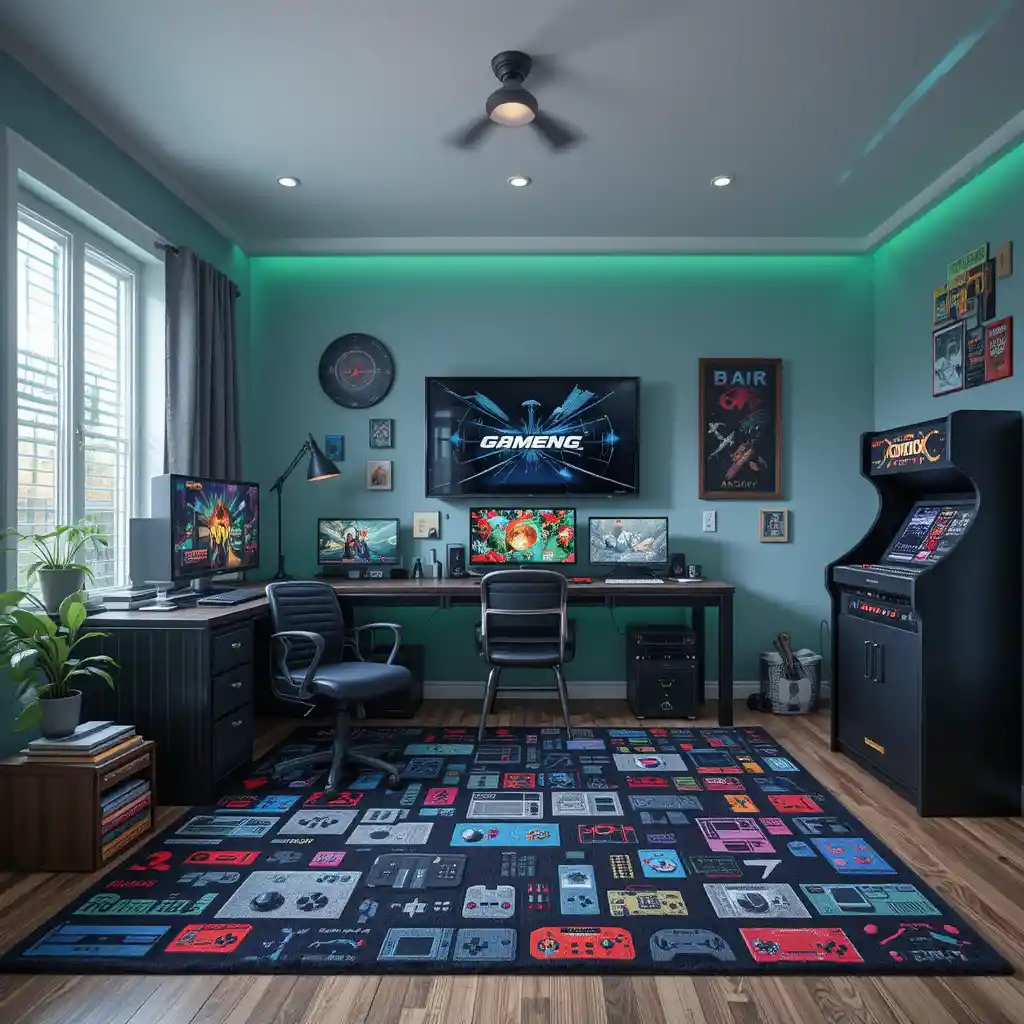
A gaming rug looks intentional when it picks up one or two colors already used elsewhere in the room, the chair, the wall decals, the lighting. Bought in isolation without matching anything else, it tends to look like a random add-on instead of part of the design.
17. Soundbar or Surround Sound System
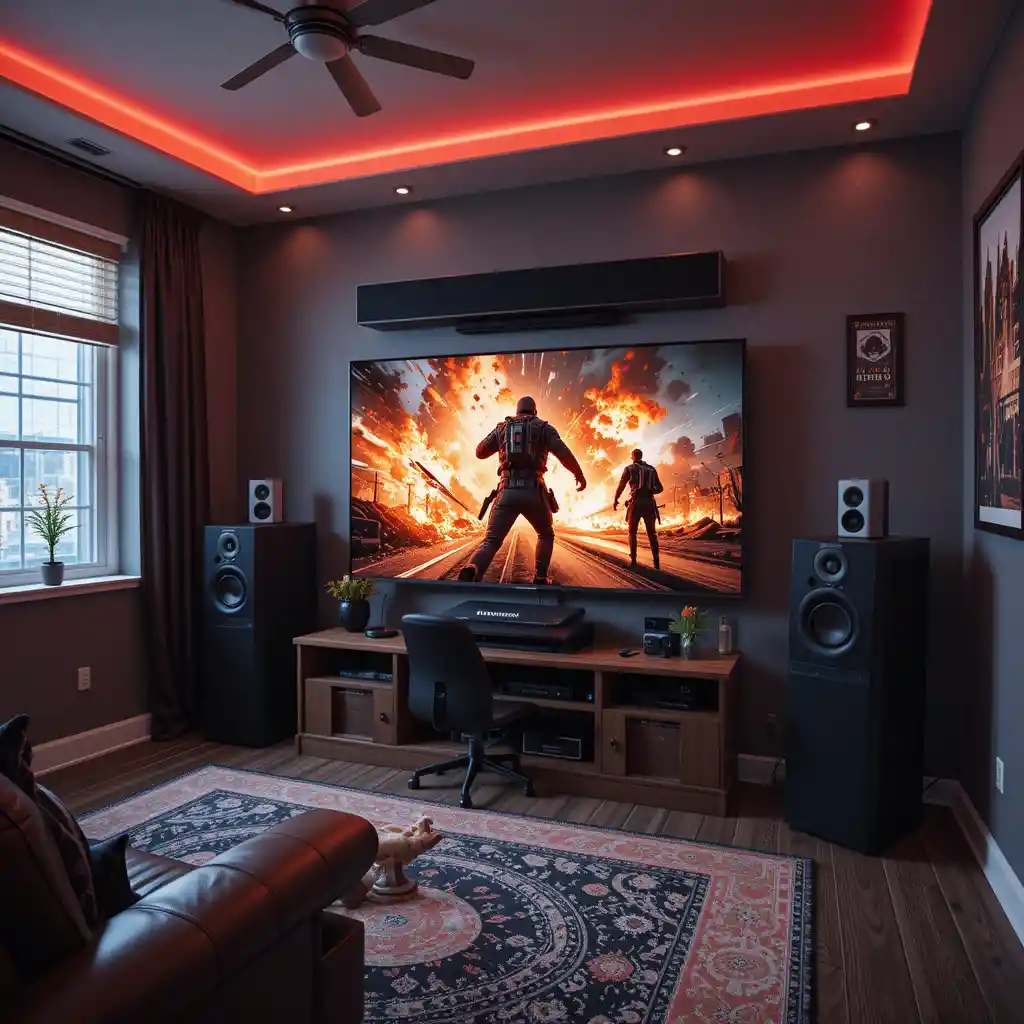
Full surround sound setups take up space most bedrooms don’t have. A single soundbar under the monitor or TV gives a noticeably better audio experience than laptop or monitor speakers without needing multiple speaker stands around the room.
18. Racing or Flight Simulator Setup
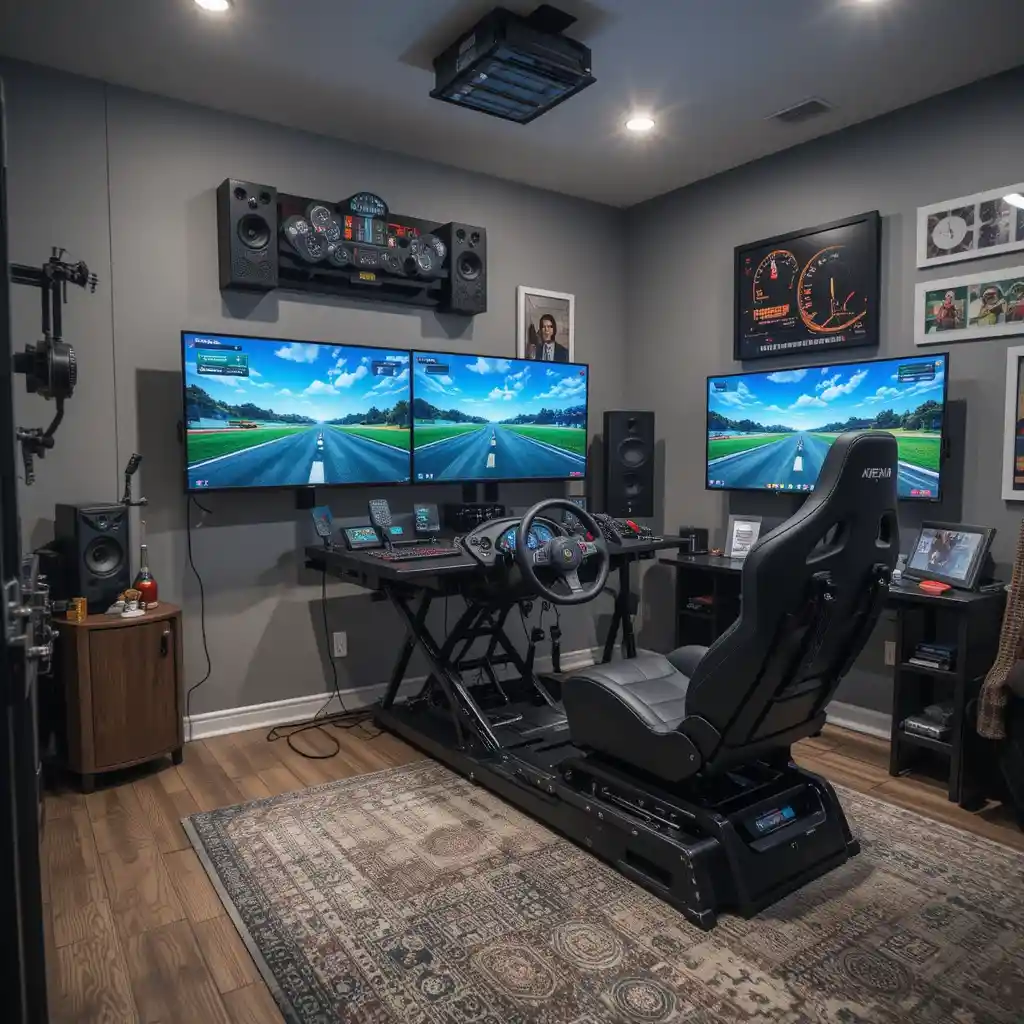
A wheel-and-pedal or flight stick rig is one of the most immersive setups on this list, but it’s also the one people most often regret buying without measuring first. Check the folded and extended dimensions against the actual floor space before buying, many rigs need at least 4 feet of clearance in front of the desk to use comfortably.
19. Gaming Posters or Framed Artwork
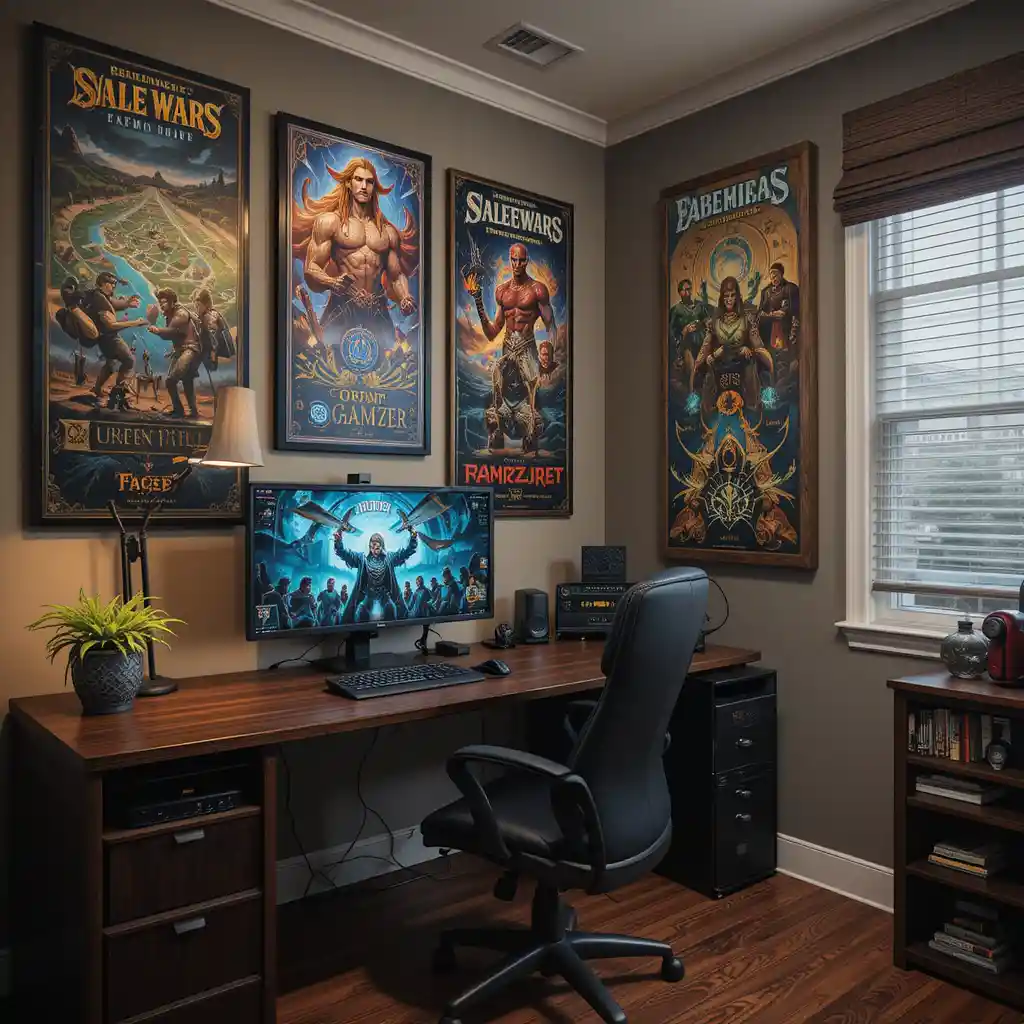
The framing is what makes the difference here, not the poster itself. A $15 poster in a $20 frame reads as intentional decor; the same poster taped to the wall reads as a college dorm. If budget is tight, a few well-framed pieces beat a wall full of unframed ones.
20. Color-Coordinated Gear
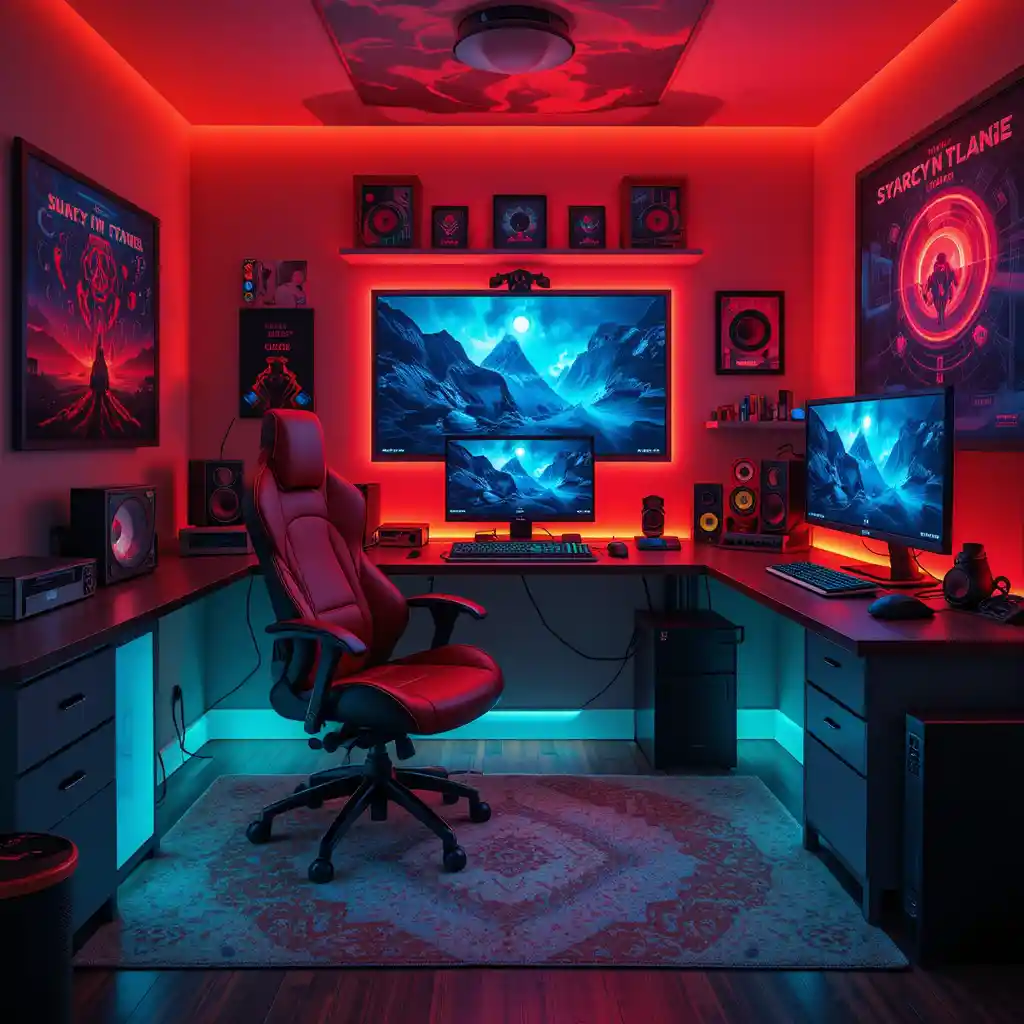
Matching every single piece of gear to one theme can get expensive fast. Picking two colors — say black and one accent color, and making sure the chair, lighting, and any visible gear stick to those two is enough to make the room feel put-together without needing to replace everything at once.
21. Smart Home Integration
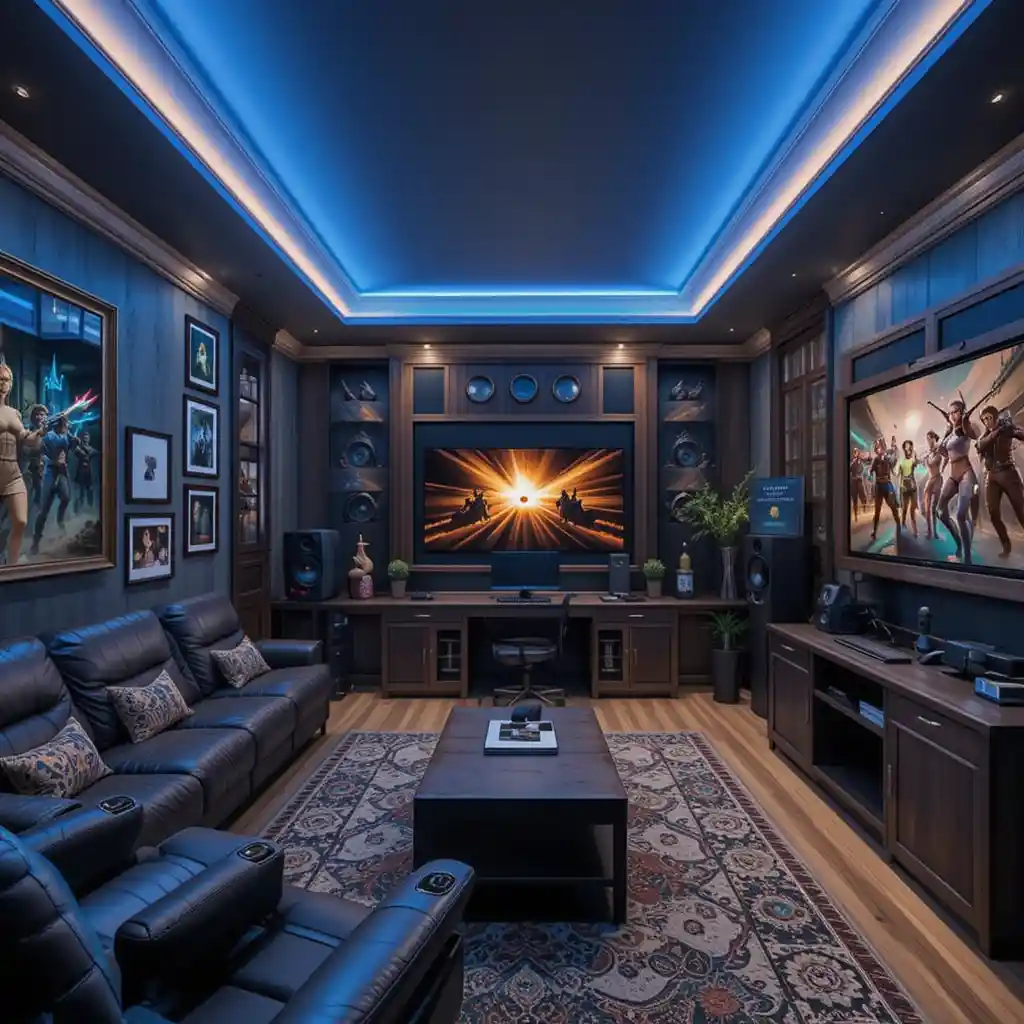
Voice or app-controlled lighting is genuinely useful for switching between a bright “cleaning the room” mode and a dim “gaming” mode without getting up. It’s a smaller upgrade than it sounds, but it’s one people actually use daily rather than one that gets ignored after the first week.
22. Dedicated Streaming Setup
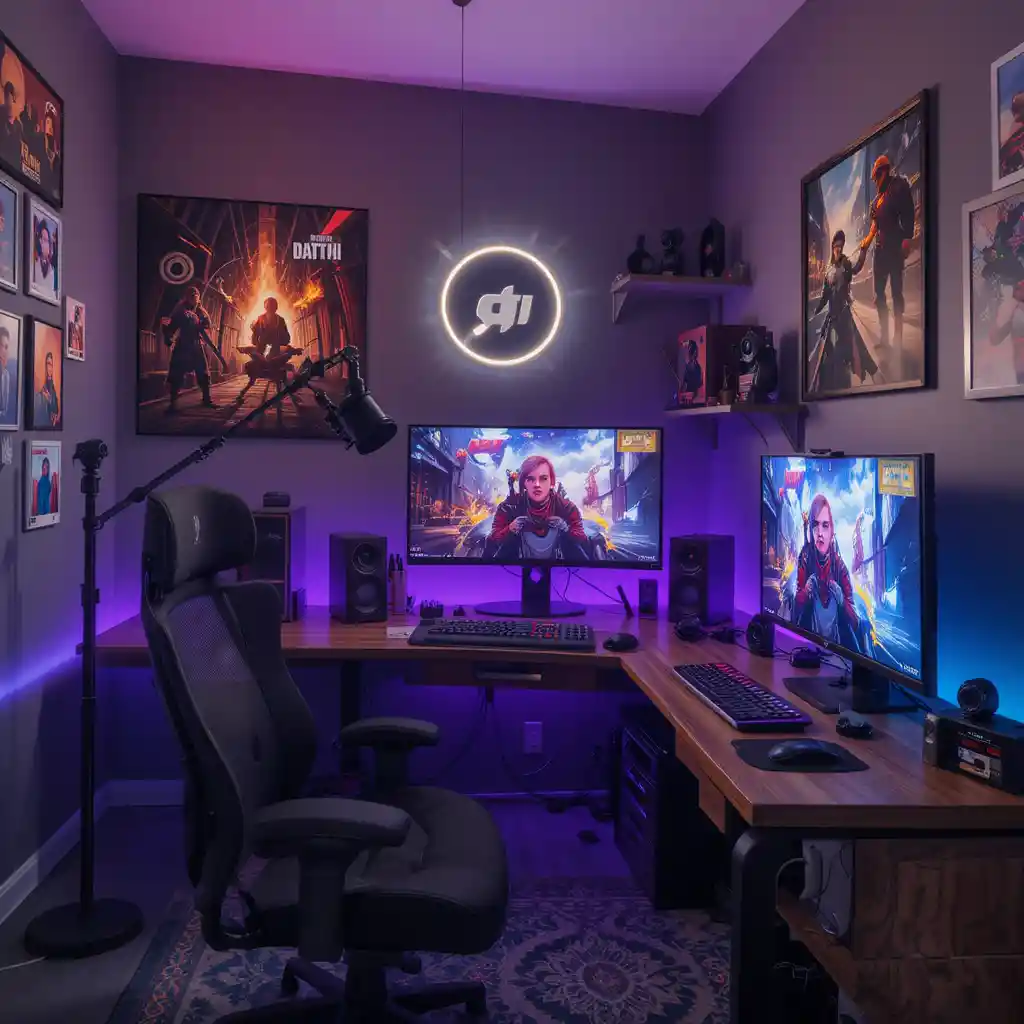
If there’s any interest in streaming or recording, a basic ring light or key light will improve the picture more than upgrading the webcam will. A decent webcam in good lighting looks better on screen than an expensive webcam in bad lighting.
Final Thoughts
The rooms that end up looking finished aren’t usually the ones with the most gear, they’re the ones where cable management, lighting placement, and color choices were sorted out before anything else got added. Start with the desk setup and lighting, get the cables under control early, and add the extras (neon signs, sim rigs, streaming gear) once the basics are working well. That order tends to save money too, since it’s easier to see what’s actually missing once the core setup is in place, instead of buying decor first and retrofitting function around it later.